Fallen Lineage Lands & Progression
Know each land’s enemy band, item tier, unlock path, and when Victory percent says to wait.
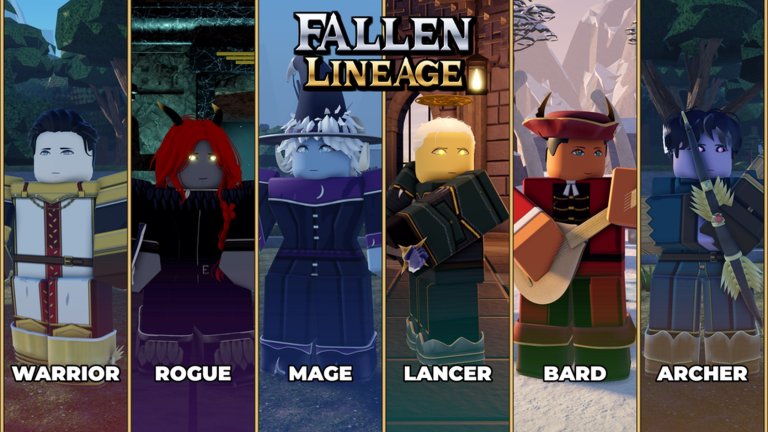
Lands are the regional spine of Fallen Lineage. Each destination lists an enemy level band and an item tier. Those numbers describe enemies, not a hard minimum character entry level—but walking far above your character’s level still hurts rewards. This Lands Hub maps Forest, Crypt, Catacombs, and Peaks, explains how unlocks work, and tells you when to read Victory before you Set out.
Cross-link boss tactics on Bosses Hub, day-one flow on Getting Started, and gear loops on Forge and Gear so progression spending matches the land you are actually clearing.
Land directory
| Land | Enemy levels | Item tier |
|---|---|---|
| Forest | 1–5 | Tier 1 |
| Crypt | 11–18 | Tier 2 |
| Catacombs | 21–28 | Tier 2 |
| Peaks | 31–38 | Tier 3 |
Start new characters in Forest on Normal. Forest is the learning land: low enemy levels, Tier 1 drops, and room to practice Inspect previews and timing before Hard or Nightmare multipliers. See Controls Hub for difficulty tables (Normal ×1 / Hard ×1.3 HP · ×1.2 damage · ×1.5 rewards / Nightmare ×1.6 · ×1.4 · ×2).
How unlocks work
Continue from Forest to Crypt, then Catacombs, through end-of-region Campfires. At the Forest exit, To the Crypt advances into the next region when the option appears. The same pattern continues with To the Catacombs later. Selecting Crypt or Catacombs directly in Land → Choose requires that destination to already be unlocked. Locked destinations stay unavailable until you earn them through progression—not through wishing in the menu.
After a land is unlocked, you can also open Start Run → Land → Choose and pick it from the castle without replaying the entire prior region every time. Browse the Land menu horizontally to inspect destinations, enemy bands, item tiers, and material icons before you commit.
Campfire choices in short:
- Continue — keep the current route.
- To the Crypt / To the Catacombs — regional advance when shown.
- Go home — end the trip and return to the castle after the summary.
Victory percent and over-level lands
Lands far above your character’s level reduce rewards. Before you Choose a destination, read the percentage in Victory. If Victory looks poor because the land outscales you, stay in a closer band, raise character power through runs, Passive Tree spends, and forge work, then come back. Chasing Peaks early for Tier 3 fantasy while Victory tanks is a common way to waste time and Lives.
Treat Victory as a planning tool, not a flex meter. A clean Forest Hard clear that funds Blacksmith upgrades often beats a miserable Catacombs attempt with empty pockets.
What each land is for
Forest (Tier 1)
Learn targeting, Energy, and Campfire discipline. Meet Bandit Chief with the Beaten Bandit Vulnerable opener when Gold allows—full fight notes on Bosses Hub. Farm early materials and Tier 1 gear before you obsess over Crypt.
Crypt (Tier 2)
Enemy levels jump to 11–18. Expect harder Energy budgets and party-wide threats such as Gravecaller’s Tombfall. Bring kits that survive the band, not only Forest leftovers. Comet Staff and other Crypt reward examples appear in community weapon notes—confirm live drops in-run.
Catacombs (Tier 2)
Enemy levels 21–28 keep Tier 2 items but raise pressure. Red Lich and seal events live here. Holy damage and add-clear matter more than Forest habits. Shops such as Keepers’ Trade can appear on Catacombs routes—budget Gold instead of spending everything at the first cart.
Peaks (Tier 3)
Enemy levels 31–38 and Tier 3 items. Unlock and enter only when Victory and your kit say you belong there. Peaks is not a shortcut for underbuilt characters.
Progression checklist
- Finish The Road and learn hub Start Run on Forest Normal (Getting Started).
- Clear Forest routes until Campfire offers To the Crypt or Crypt unlocks in Land → Choose.
- Upgrade gear at Blacksmith and Gem Cutter on Forge and Gear between climbs.
- Read Victory before every land pick that looks “ahead.”
- Study the next boss on Bosses Hub before the regional finale.
- Raise difficulty only after Normal clears feel controlled (Controls Hub).
Solo versus party on the ladder
Solo players should stay closer to their level band because there is no backup when a land spike deletes a Life. Parties of up to four can push slightly harder bands if roles are covered and a caller tracks Victory and boss traits—but party size does not remove the reward penalty for lands far above character level.
Related reading
- Bosses Hub — Bandit Chief, Gravecaller, Red Lich.
- Getting Started — first hour and castle prep.
- Forge and Gear — salvage, upgrades, Skill Gems between lands.
- Passive Tree Hub — Apply points during Campfire and pre-boss pauses.
- Combat Guide — turn priority inside each land’s fights.
Fallen Lineage progression is a ladder with labeled rungs. Forest teaches. Crypt and Catacombs test Tier 2 readiness. Peaks demands Tier 3 honesty. Read the enemy band, read Victory, then Set out.
Frequently Asked Questions
Quick answers to the most common questions.
What enemy levels are in each Fallen Lineage land?
Forest 1–5, Crypt 11–18, Catacombs 21–28, Peaks 31–38. Those numbers describe enemies, not a strict character entry lock.
How do I unlock Crypt or Catacombs?
Advance through end-of-region Campfire options such as To the Crypt / To the Catacombs, or choose the land in Land → Choose after it is unlocked.
Why are my rewards low in a high land?
Lands far above your character level reduce rewards. Read the Victory percent before choosing the destination.
Which land should beginners start in?
Forest on Normal—enemy levels 1–5 and Tier 1 items—while you learn combat and Campfire flow.
Is Catacombs a higher item tier than Crypt?
Both Crypt and Catacombs list Tier 2 items. Peaks is the Tier 3 land (enemy levels 31–38).